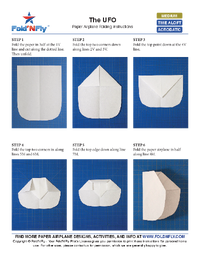
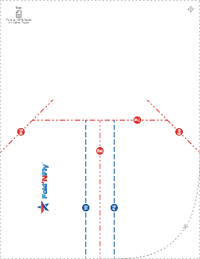
1. Cut out the bottom corner to round it off as shown.
Step 1
Cut out the bottom corner to round it off as shown.
2. Fold the top corners to the center line.
Step 2
Fold the top corners to the center line.
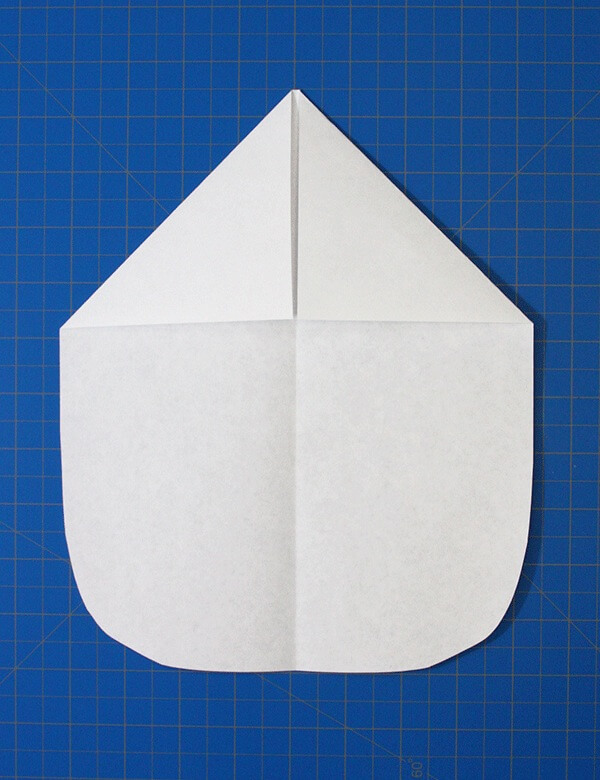
3. Fold the peak down 2 inches before the bottom edge.
Step 3
Fold the peak down 2 inches before the bottom edge.
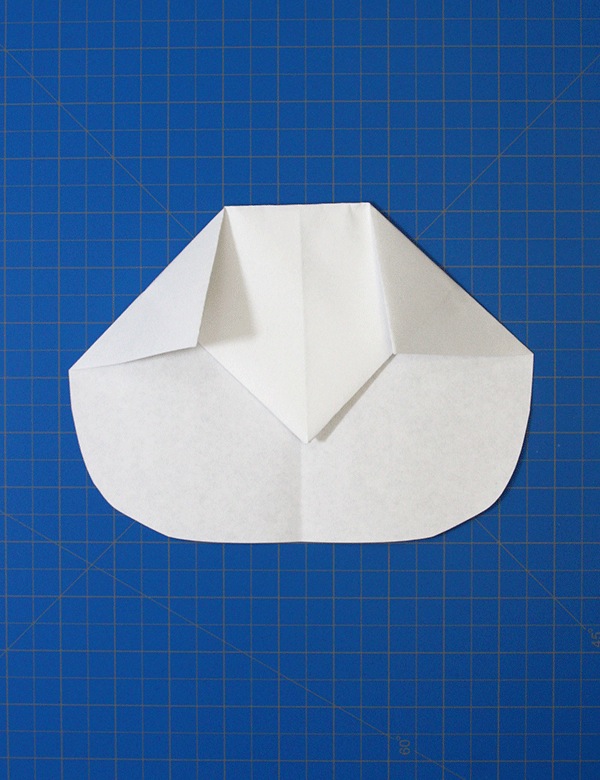
4. Fold down the top two corners about half way down each diagonal line.
Step 4
Fold down the top two corners about half way down each diagonal line.
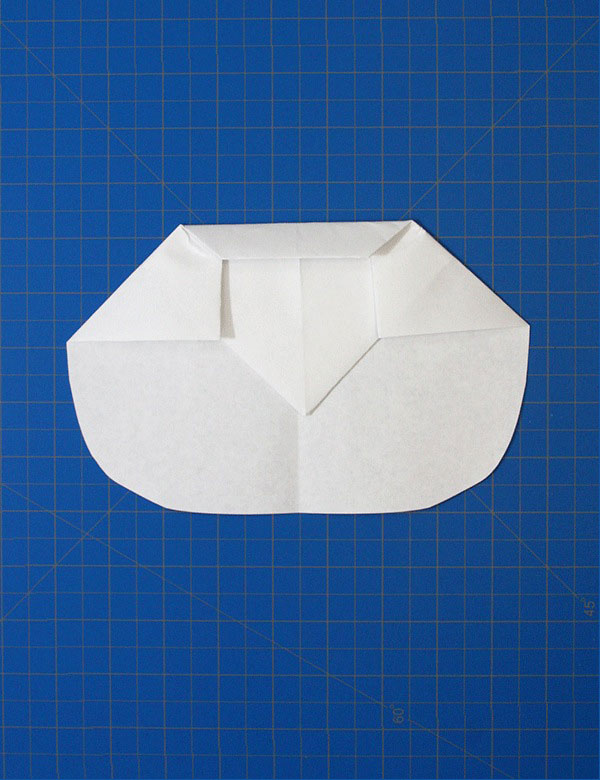
5. Now, fold the top edge down about one inch.
Step 5
Now, fold the top edge down about one inch.
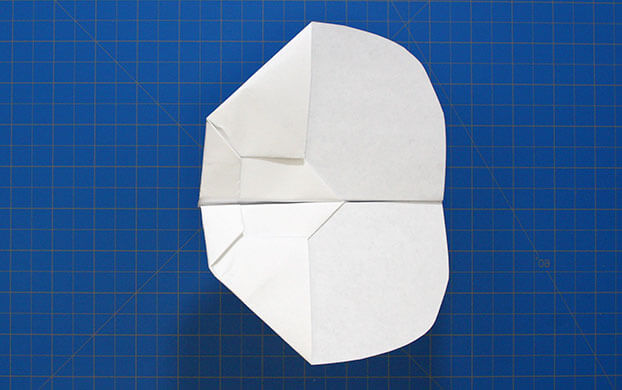
6. Fold the plane in half towards you.
Step 6
Fold the plane in half towards you.
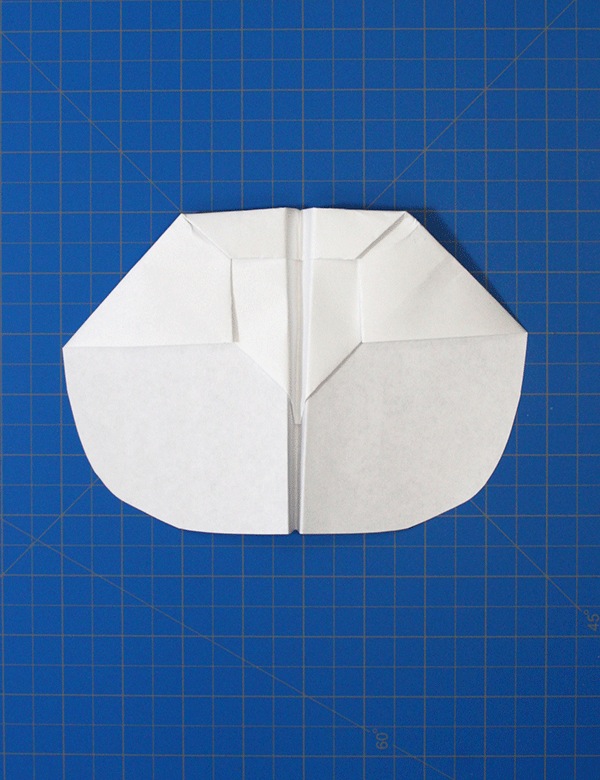
7. Finally, fold the sides out to create the long round wings. The body should be a 1/2 an inch.
Step 7
Finally, fold the sides out to create the long round wings. The body should be a 1/2 an inch.
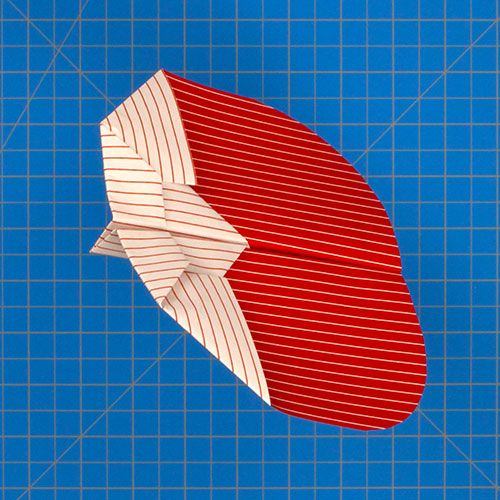
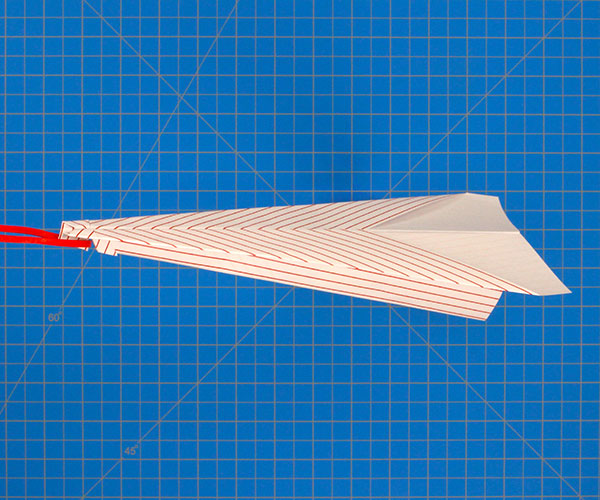
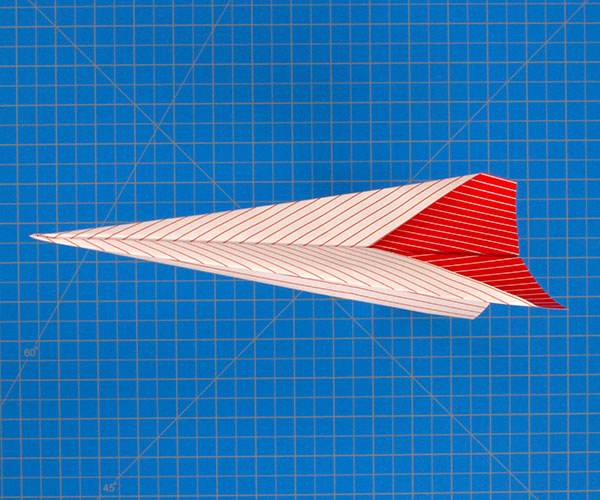
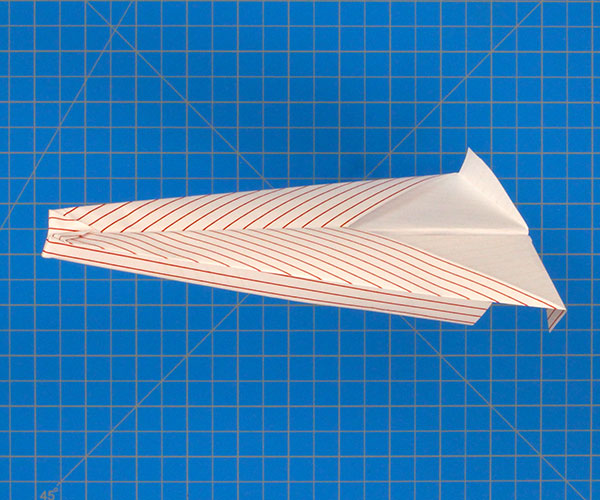
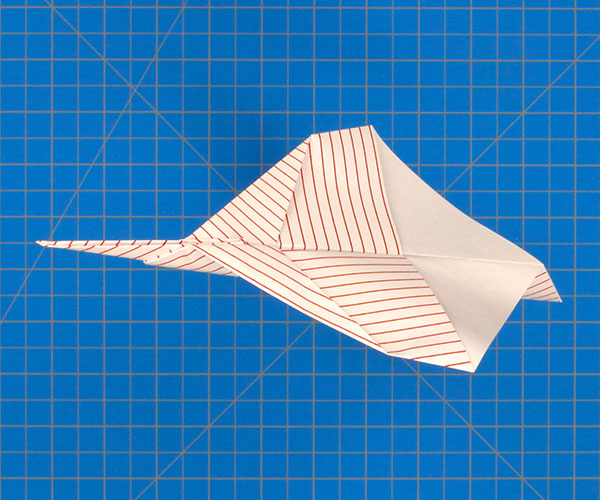
Final Paper Airplane Design
This paper airplane design likes to float slowly in large circles instead of flying straight. It has stiff wings, so feel free to throw it as hard as you want.
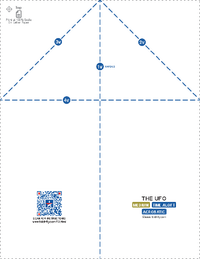
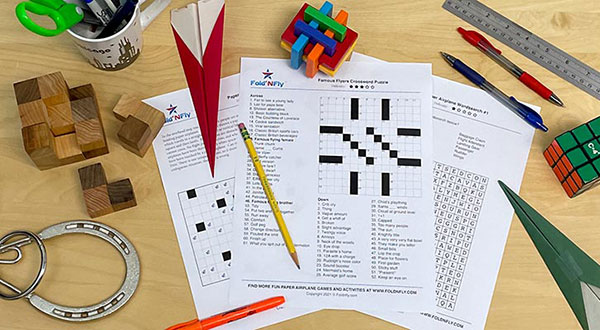
These beautiful, easy to follow, paper airplane folding instructions can be downloaded and printed as many times as you want. Simply follow the printed instructions and fold along the indicated lines to make a perfect paper airplane, every time.