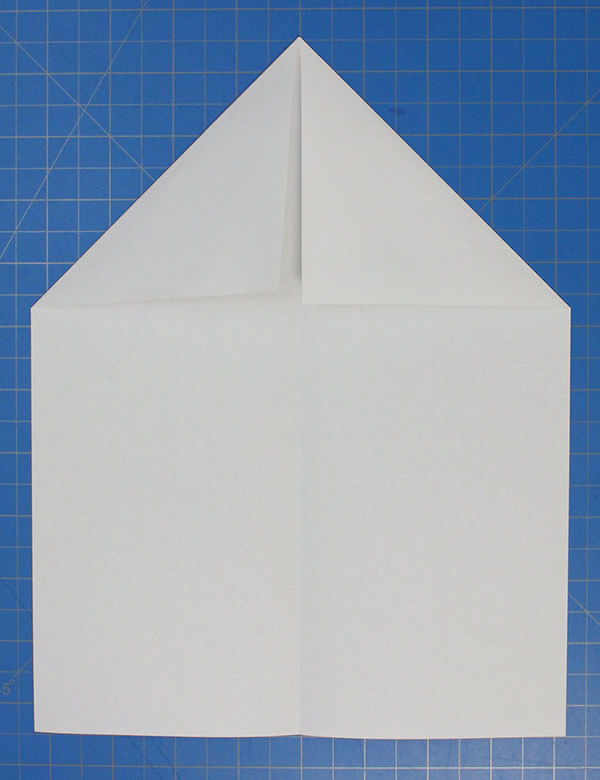
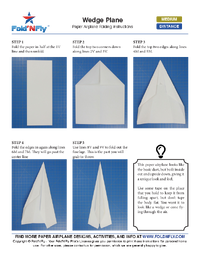
2. Open the sheet back up and fold the upper corners to the center.
Step 2
Open the sheet back up and fold the upper corners to the center.
3. Repeat the last step with the both upper edges.
Step 3
Repeat the last step with the both upper edges.
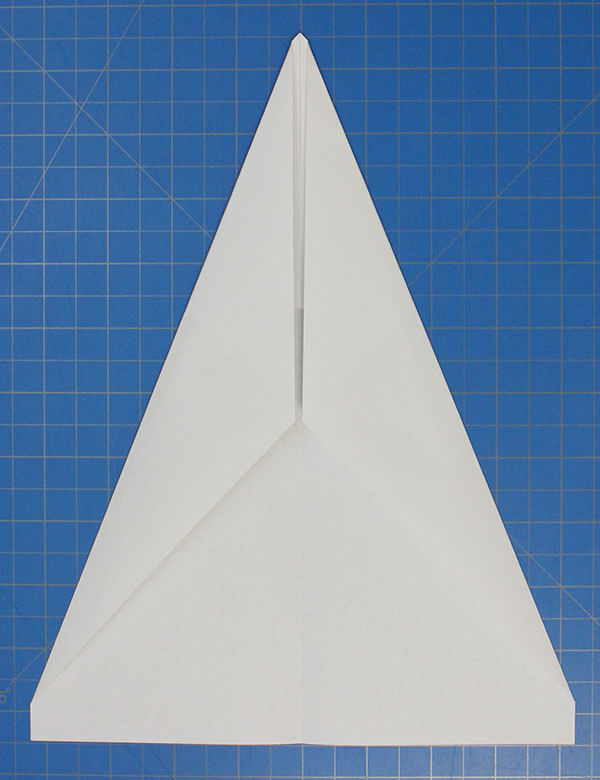
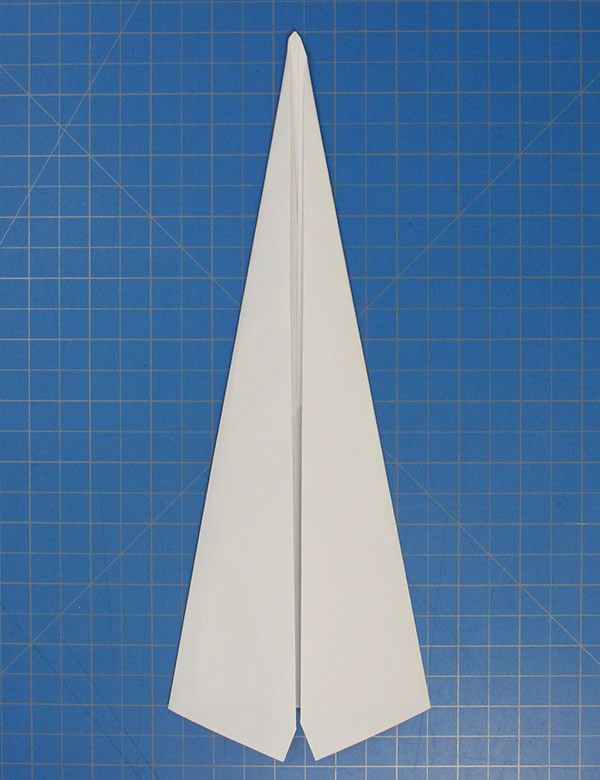
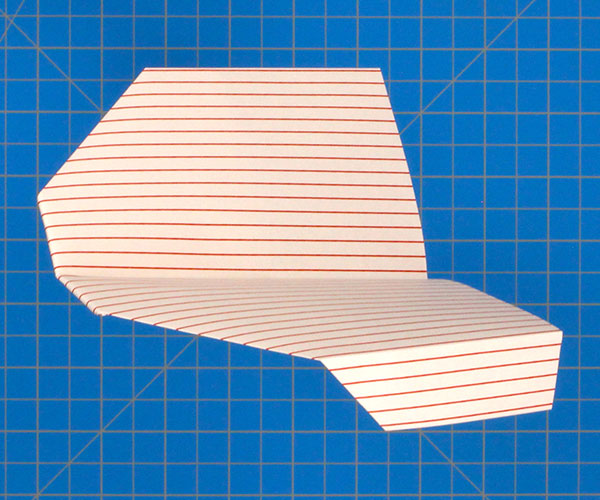
4. Repeat again by folding the corners in
Step 4
Repeat again by folding the corners in
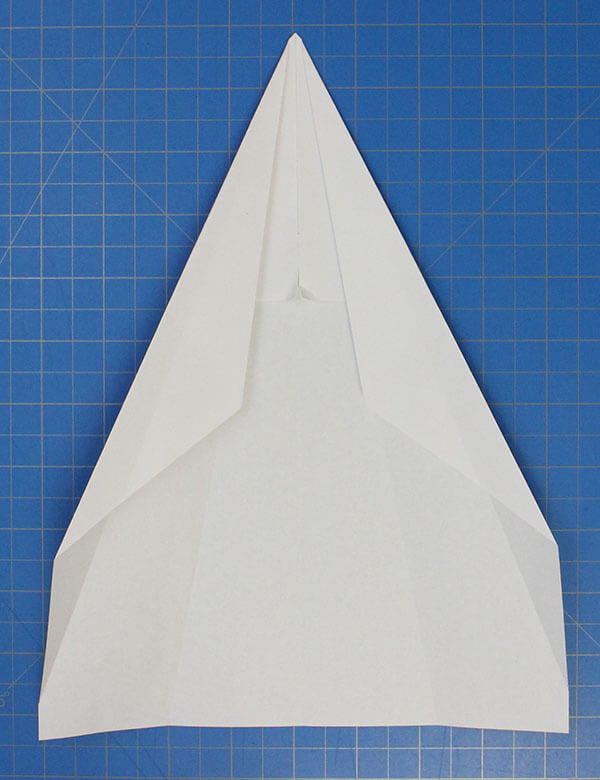
5. Unfold everything back to step 2 and then fold the corners to the diagonal crease that you just made.
Step 5
Unfold everything back to step 2 and then fold the corners to the diagonal crease that you just made.
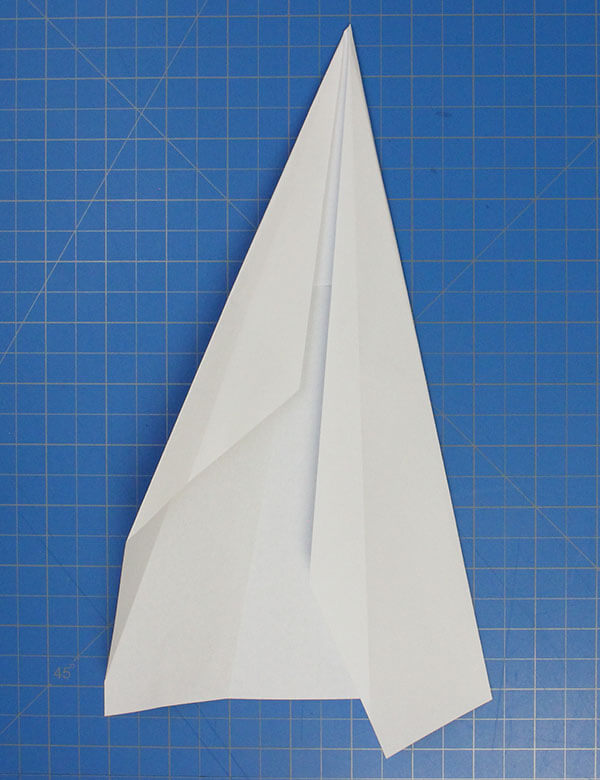
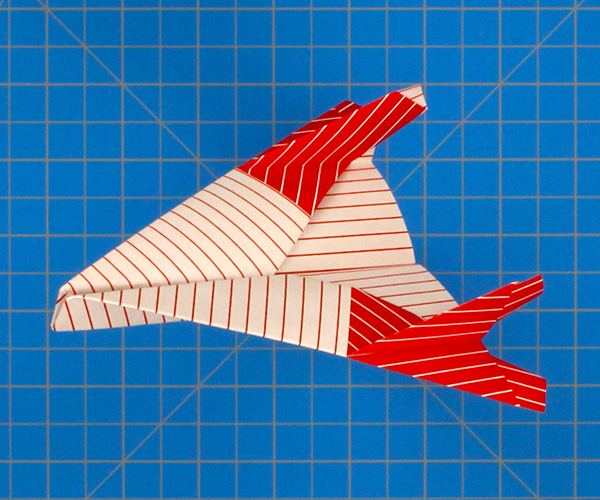
6. Fold along this same crease again so the two halves cross over a bit in the middle.
Step 6
Fold along this same crease again so the two halves cross over a bit in the middle.
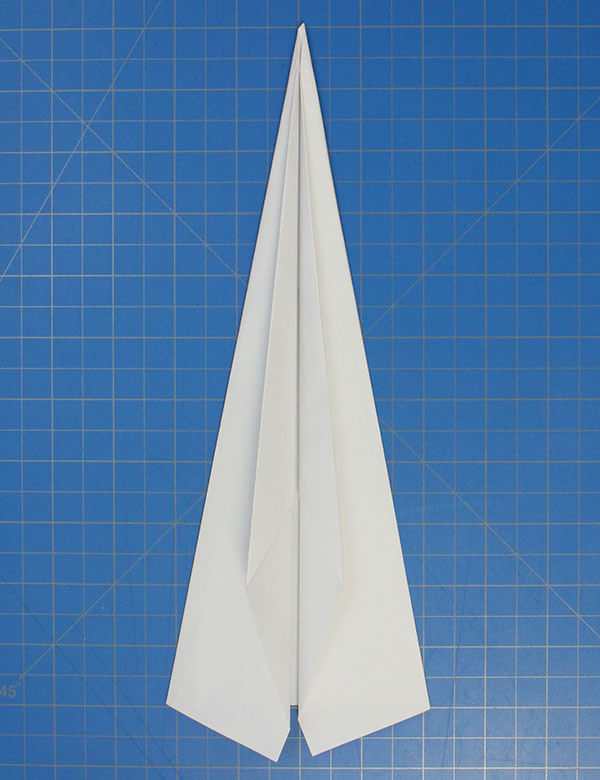
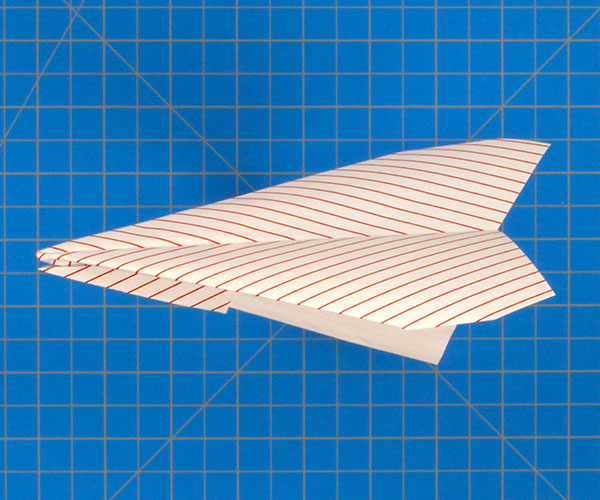
7. Fold out the overlapping bits in the middle so that they meet in the center. This is the part that you will hold.
Step 7
Fold out the overlapping bits in the middle so that they meet in the center. This is the part that you will hold.
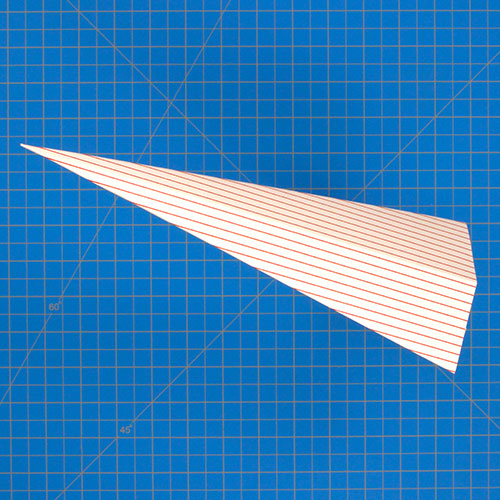
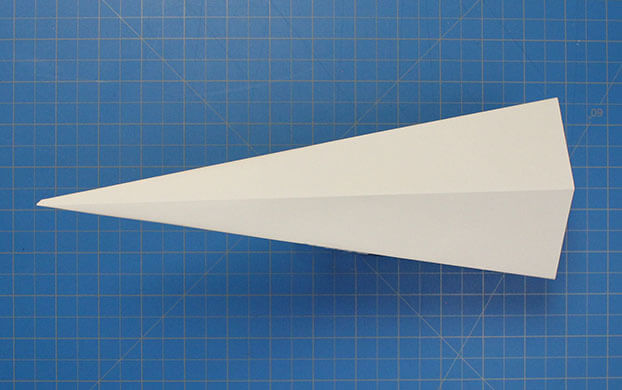
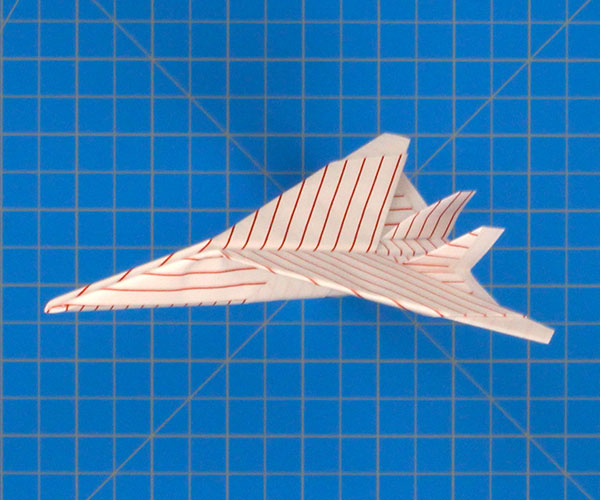
Final Paper Airplane Design
Use some tape on the place that you hold to keep it from falling apart, but don't tape the body flat. You want it to look like a wedge or cone flying through the air.
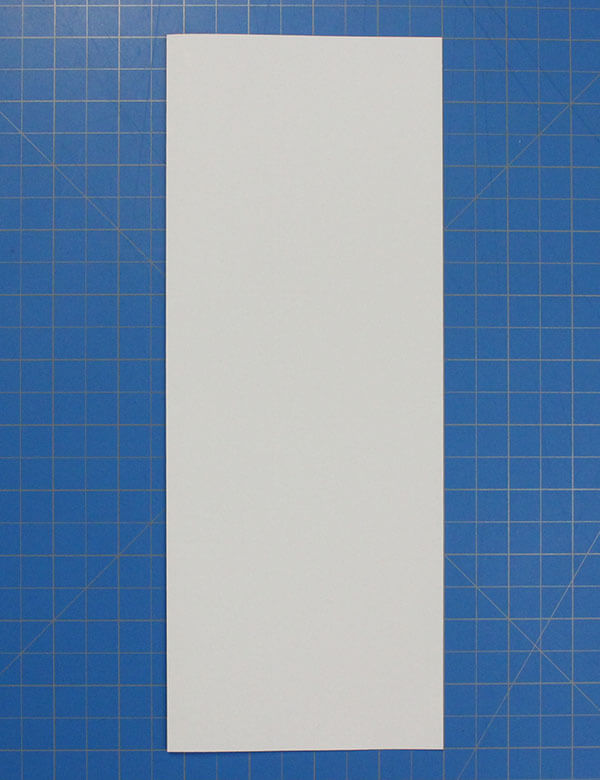
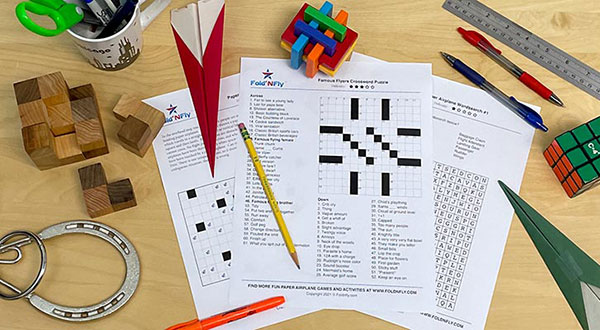
These beautiful, easy to follow, paper airplane folding instructions can be downloaded and printed as many times as you want. Simply follow the printed instructions and fold along the indicated lines to make a perfect paper airplane, every time.