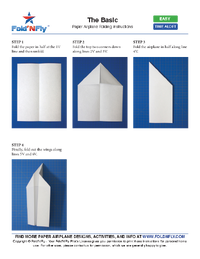
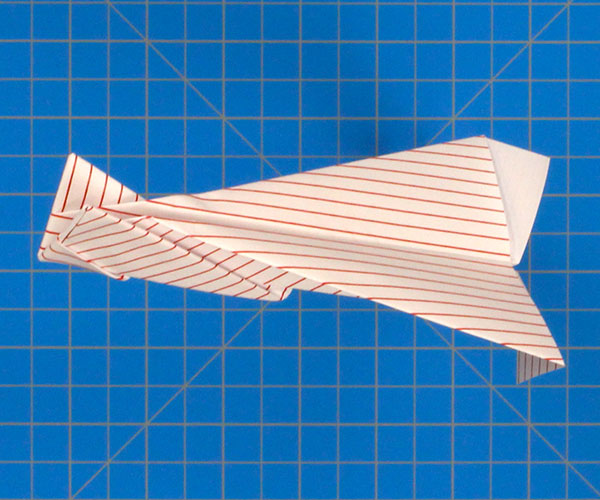
The most basic design that almost everyone has tried.
The Basic
The most basic design that almost everyone has tried.
It's quick and easy to make, and it flies fairly well. This paper airplane is a little floppy, so it works better if you give it a gentle toss, not a hard throw. A good starter airplane for young kids.
Easy difficulty 4 foldsLetter & A4 Paper Time aloft 8.8 ft / 2.6 m
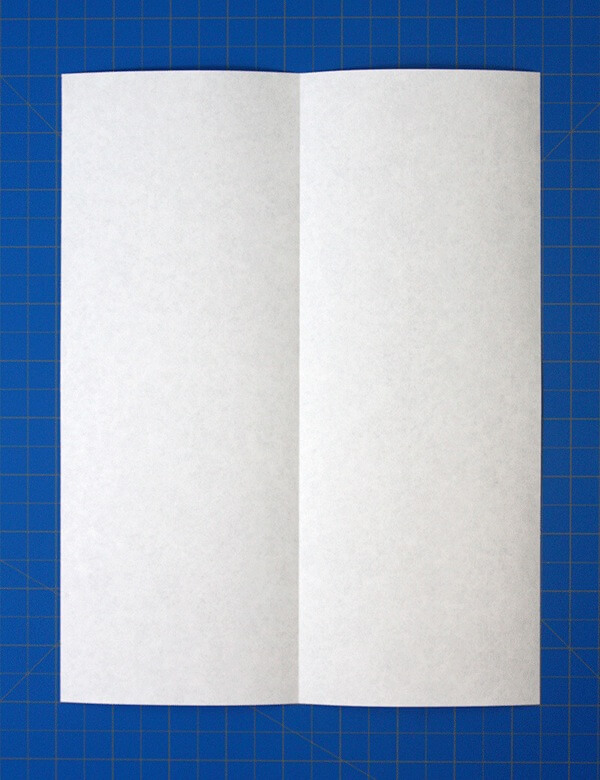
2. Unfold and then fold the top two corners into the center line.
Step 2
Unfold and then fold the top two corners into the center line.
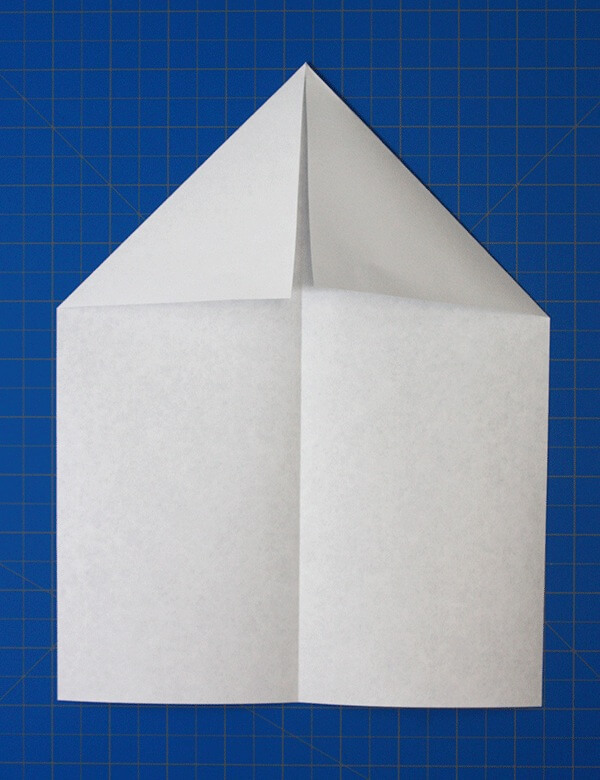
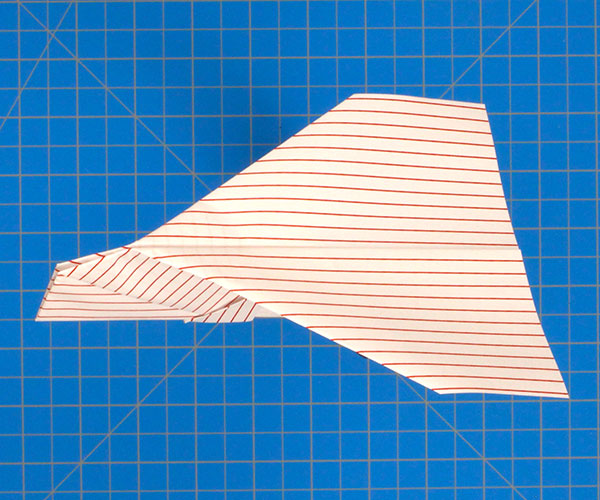
3. Again, fold the paper in half.
Step 3
Again, fold the paper in half.
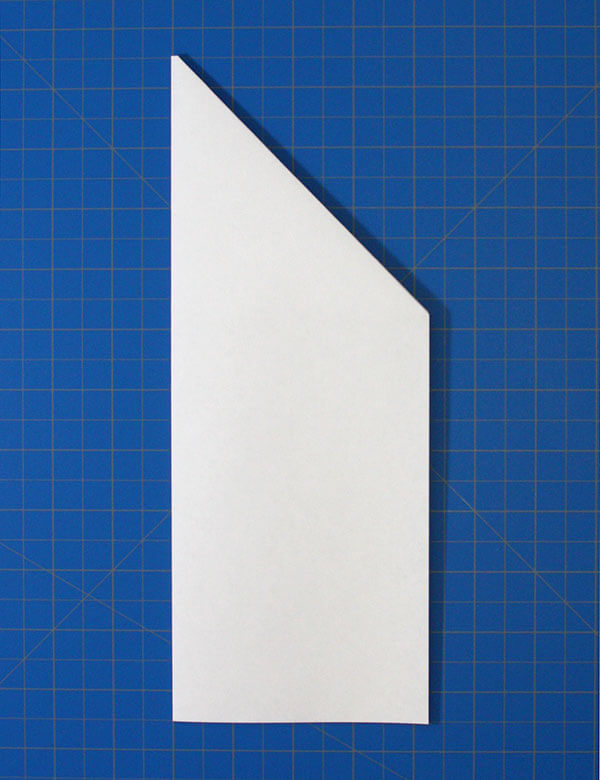
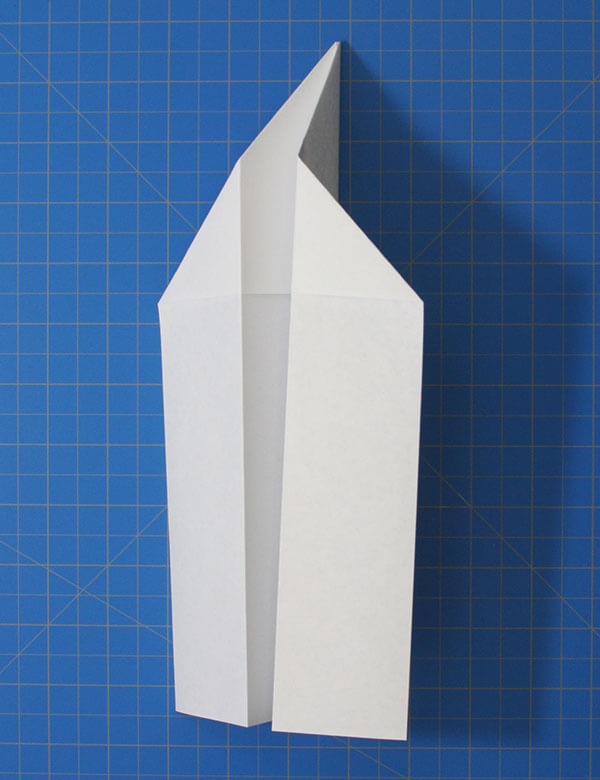
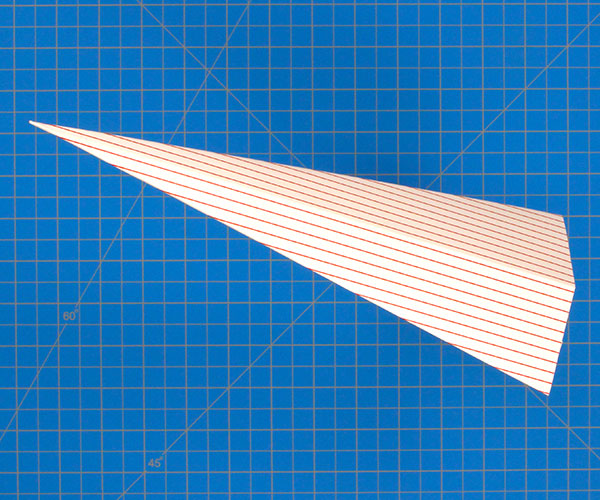
4. Finally, fold the edges down to meet the bottom of the body.
Step 4
Finally, fold the edges down to meet the bottom of the body.
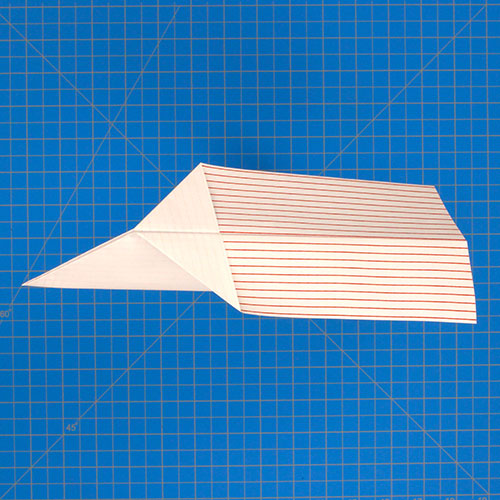
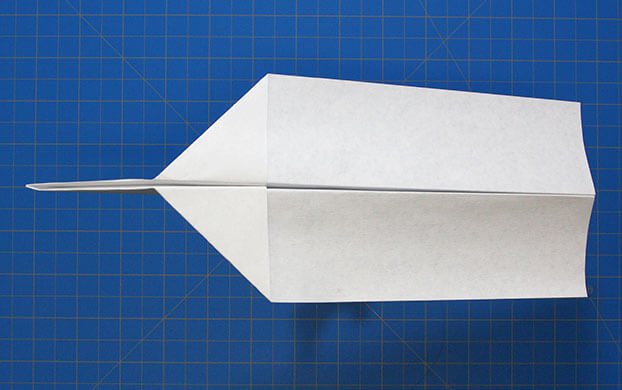
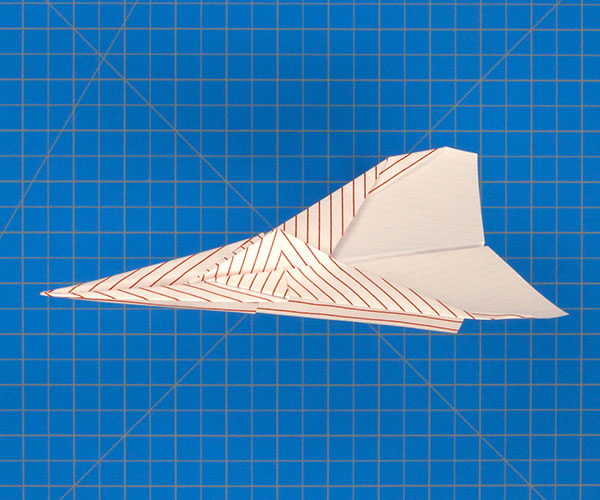
Final Paper Airplane Design
Use a little tape to keep the wings together. If it tends to fly sharply upwards, stall, and then drop straight down, try bending the back of the wings down just a little bit.
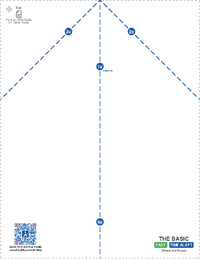
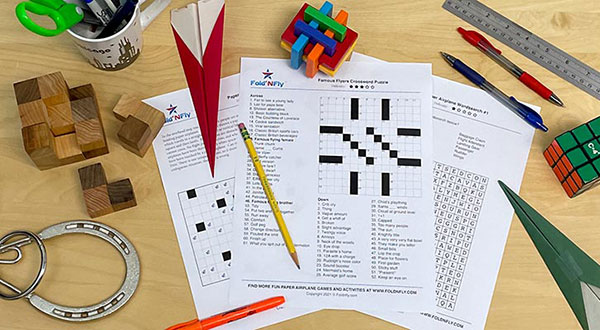
These beautiful, easy to follow, paper airplane folding instructions can be downloaded and printed as many times as you want. Simply follow the printed instructions and fold along the indicated lines to make a perfect paper airplane, every time.