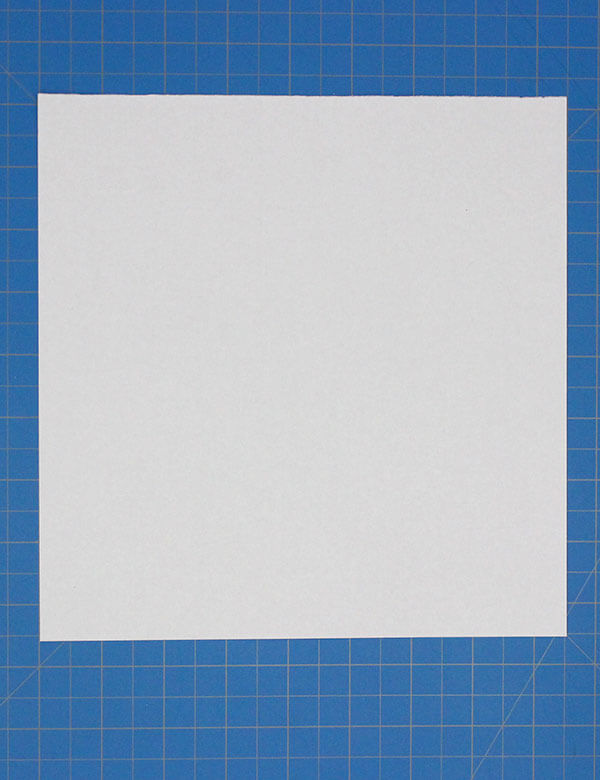
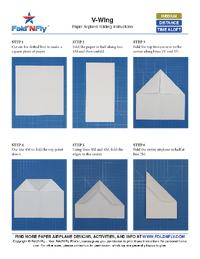
1. First, cut 2.5 inches off the bottom to make a perfectly square piece of paper.
Step 1
First, cut 2.5 inches off the bottom to make a perfectly square piece of paper.
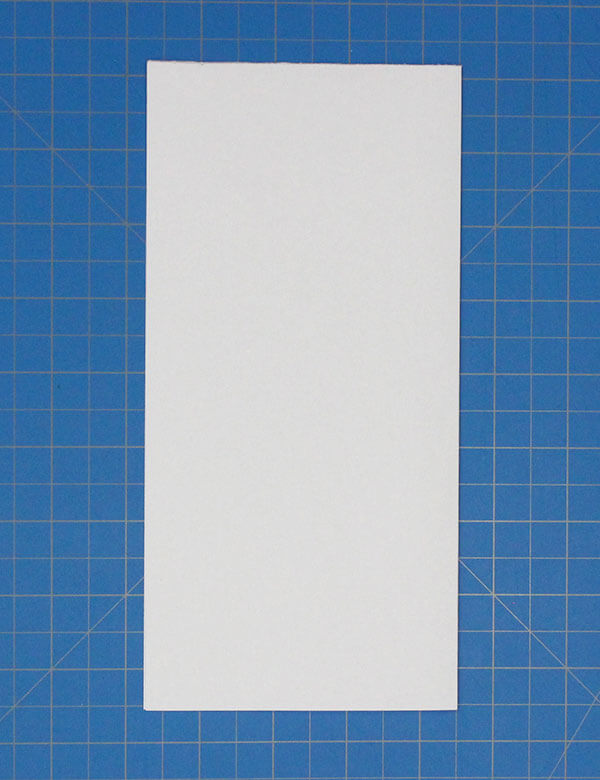
2. Fold the sheet in half and then open back up.
Step 2
Fold the sheet in half and then open back up.
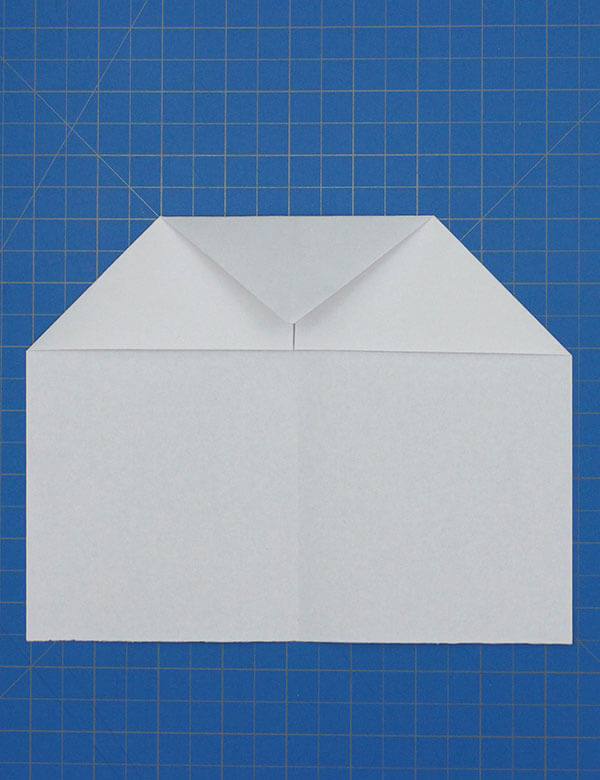
3. Fold both upper corners to the center line as shown.
Step 3
Fold both upper corners to the center line as shown.
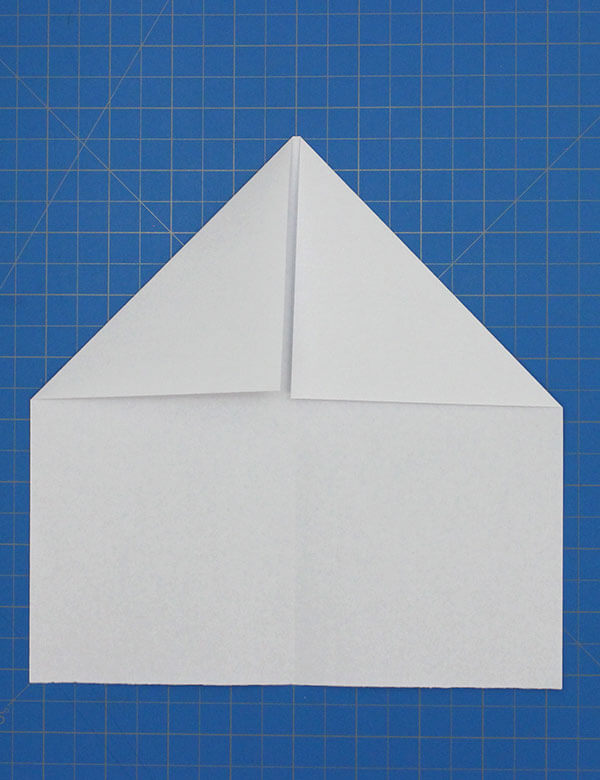
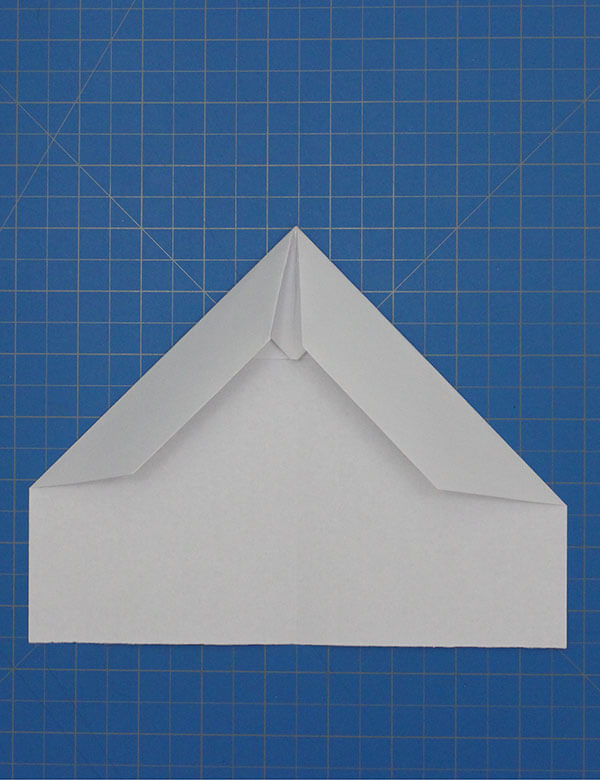
4. Fold the top point down to meet the corners from the previous step.
Step 4
Fold the top point down to meet the corners from the previous step.
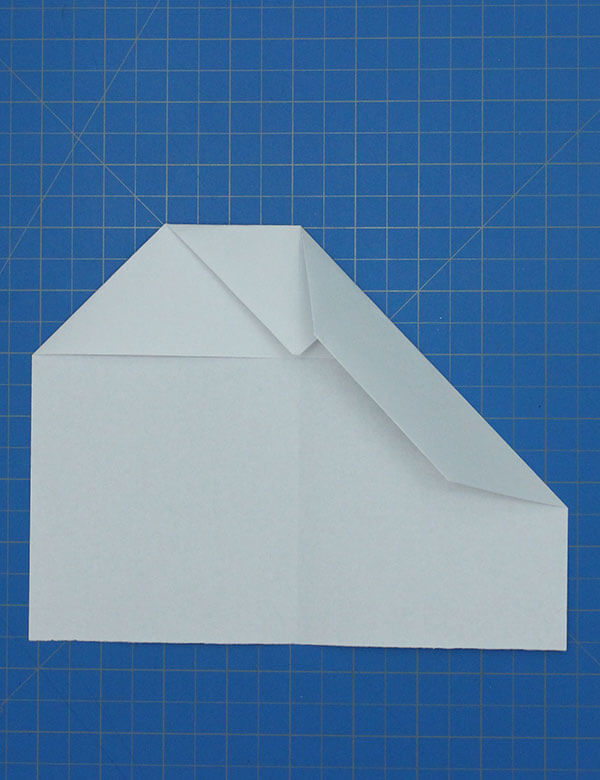
5. Fold the right upper corner to the center again.
Step 5
Fold the right upper corner to the center again.
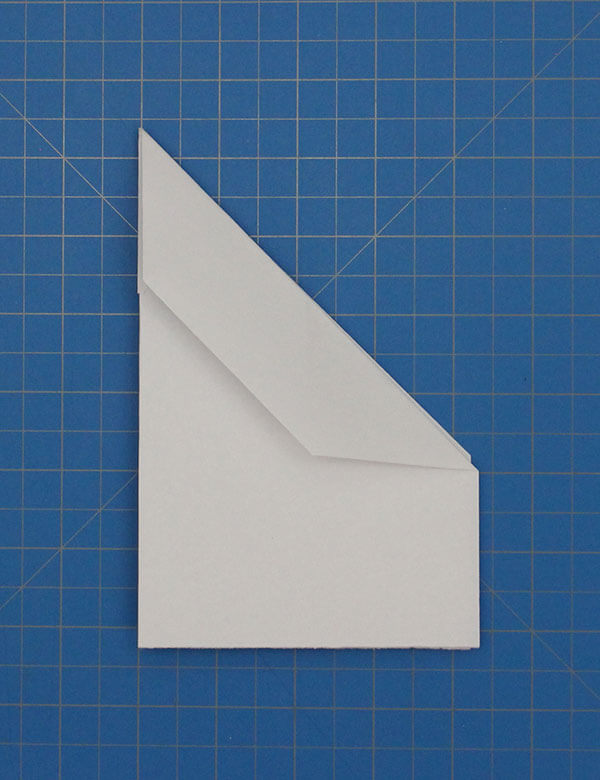
6. Repeat with the other side, and then fold the plane in half away from you.
Step 6
Repeat with the other side, and then fold the plane in half away from you.
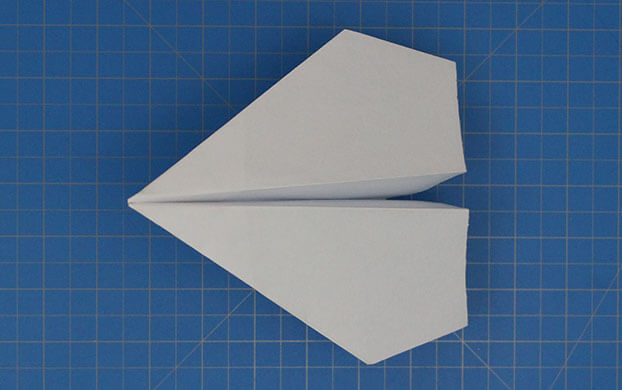
7. Finally, fold out the wings. They should come to a point in the front and taper up towards the back.
Step 7
Finally, fold out the wings. They should come to a point in the front and taper up towards the back.
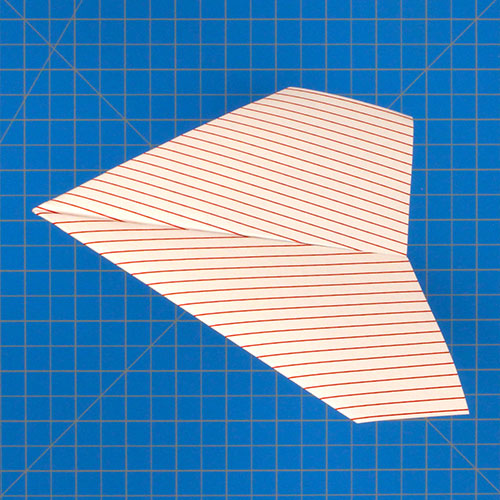
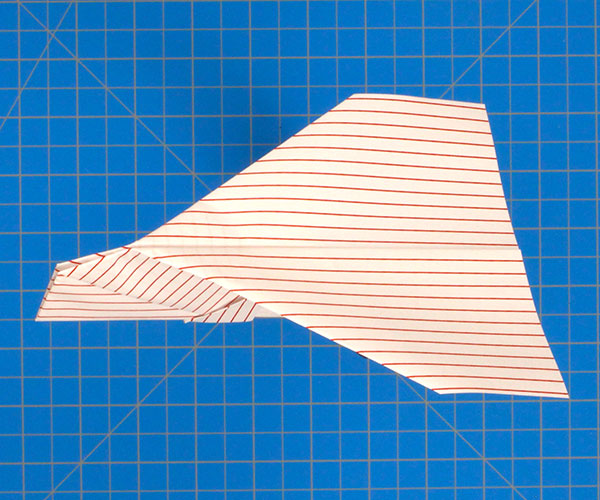
Final Paper Airplane Design
This steady glider is very reliable and requires few adjustments, but you can fold the tail flaps up or down as needed to get this paper airplane to fly level and straight.
These beautiful, easy to follow, paper airplane folding instructions can be downloaded and printed as many times as you want. Simply follow the printed instructions and fold along the indicated lines to make a perfect paper airplane, every time.